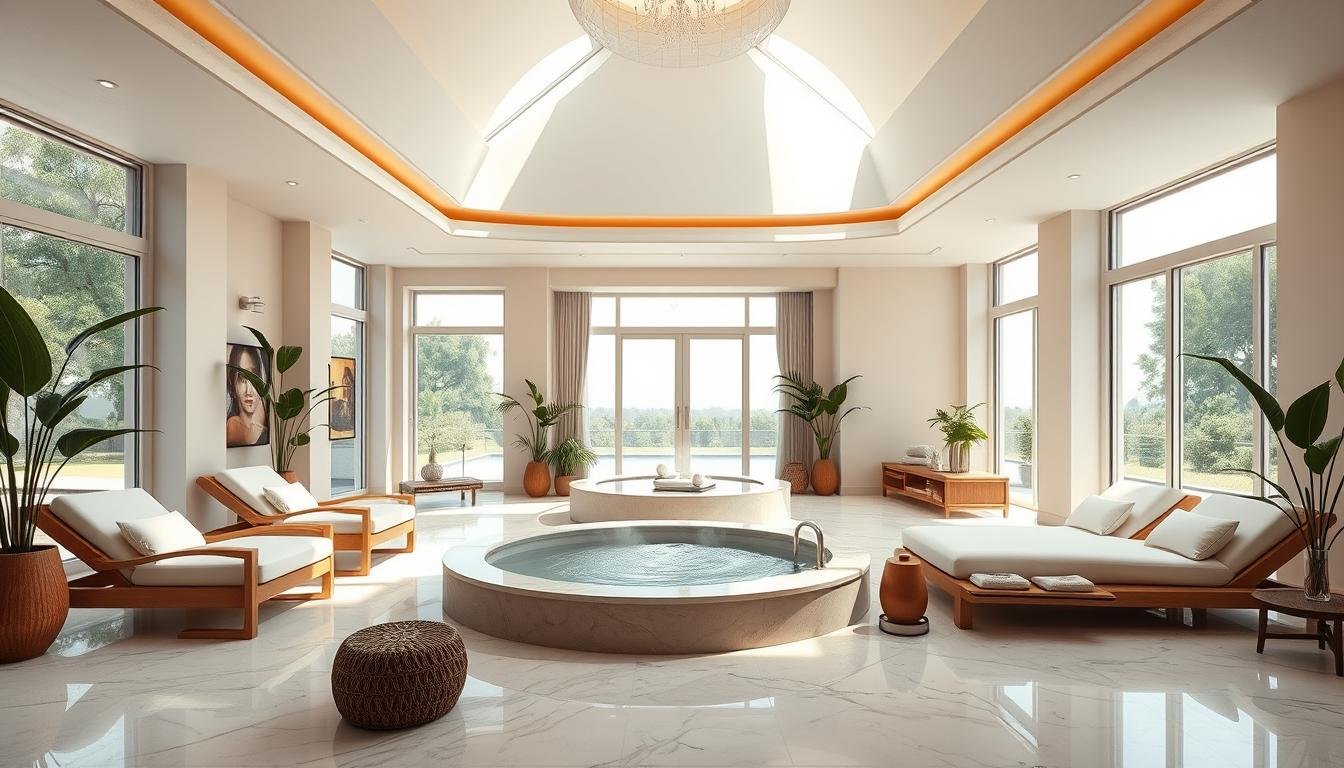
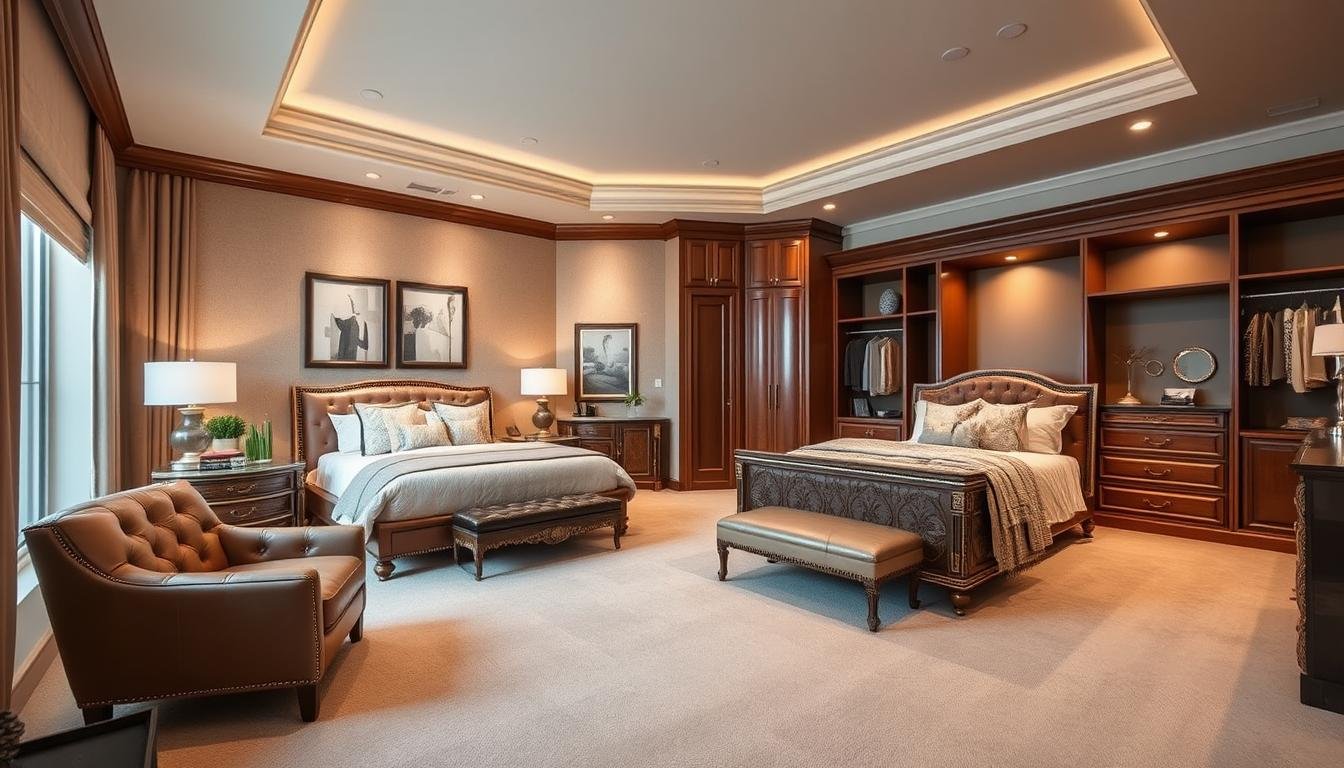
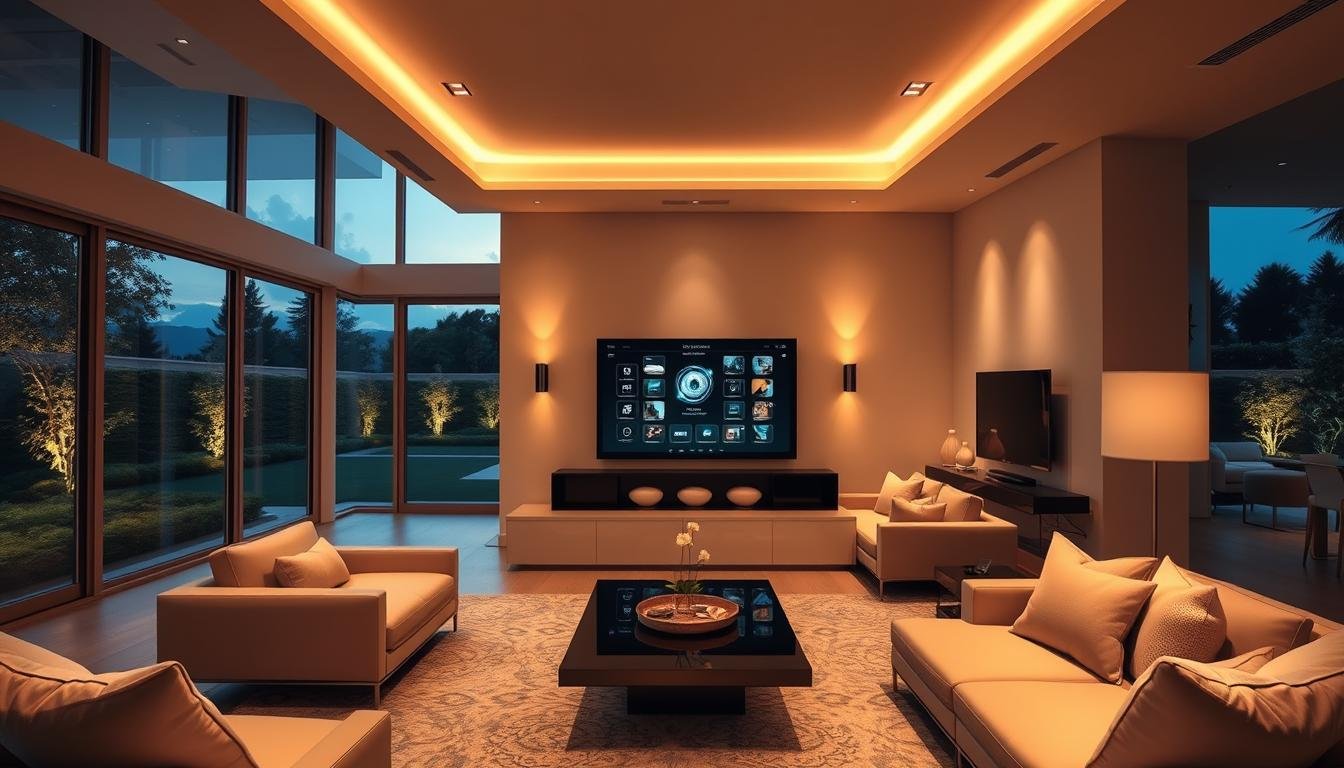
Can a compact plan give us a feeling of space and luxury without blowing our budget?
We explore practical bhk ideas that stretch a small area into a functional home. Our focus is on open living and dining zones that make a compact footprint feel like a spacious living room.
We show how a simple layout links a living room to a kitchen with a breakfast counter to improve flow. Two bedrooms sit on opposite sides with attached bathrooms and built-in storage to save corridor space.
We outline quick levers — shared plumbing, rectangular footprints, local materials — that cut costs without cutting comfort. We also explain where to place a pooja niche, utility balcony, and walk-in closet so the plan stays efficient.
Read on to learn practical steps from plot selection to a final plan, plus common traps that inflate bills and how we avoid them.
Start Smart: Our How-To Approach to Building a Low-Cost 2BHK in India
Our approach breaks building a compact bhk into clear steps so costs stay predictable and outcomes stay functional.
We begin by defining needs and a realistic budget tied to local rates. Next, pick a plot with a rectangular footprint and the right plot size to simplify structure and plumbing. For a 25×45 plan, initial costs in India can start near ₹10 lakhs and rise with premium finishes.
Consolidate wet areas along shared plumbing lines to cut civil and MEP costs. Use simple finishes and local labor first, then upgrade high-impact elements like kitchen counters and bathroom fittings.
Validate the layout with a ground-floor 3D to check furniture fit, circulation, and window placement. Early Vastu choices — kitchen in the southeast, master in the southwest — avoid costly later changes.
- Set cost targets and a 5–10% contingency for permits, soil tests, and structural inputs.
- Scale room sizes for two adults and a child so living spaces remain useful, not oversized.
- Ask architects for floor plans, elevations, sections, electrical and plumbing layouts, and a BOQ.
2bhk house design low budget: Practical Strategies to Save Without Compromise
A few strategic layout shifts can turn tight square footage into open, light-filled living areas.
We favour an open-plan living-dining-kitchen with a breakfast counter to improve flow and reduce partitions. This visually enlarges the living room and keeps circulation efficient.
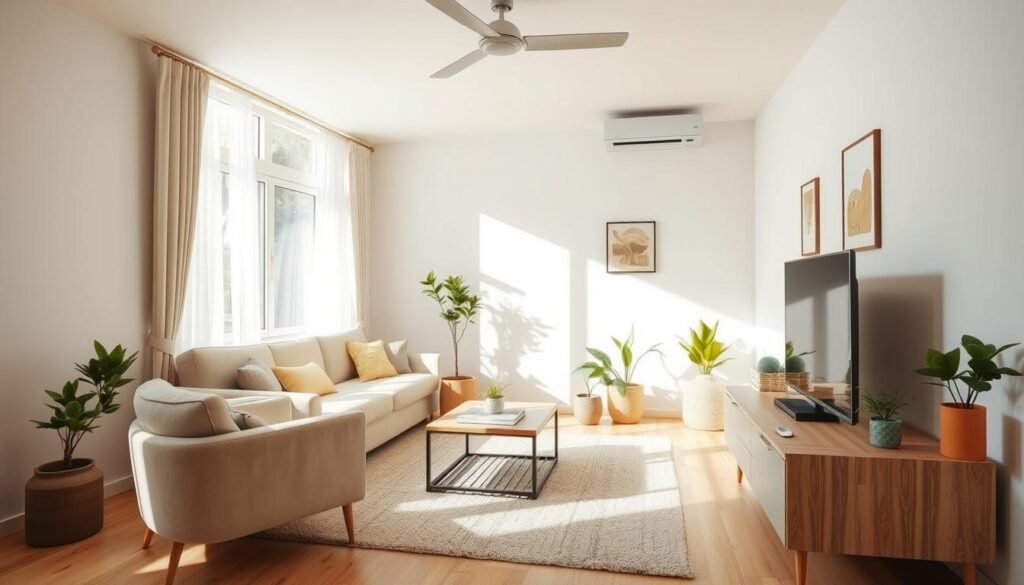
Maximizing storage is key. Built-in wardrobes and overhead lofts cut clutter and future carpentry costs. Under-stair bins, bed-box storage, and wall-to-wall closets free up useful space.
- Modular kitchen carcasses with a simple countertop give practical storage in the kitchen without high finishes.
- Multifunctional furniture—sofa-cum-bed, nesting tables, folding dining—adds flexibility to each room.
- Light colours and continuous flooring create a seamless, larger perception across the plan.
| Feature | Economy Pick | Why it works |
|---|---|---|
| Flooring | Vitrified tiles | Durable and uniform for visual continuity |
| Storage | Laminate wardrobes | Affordable, easy to repair |
| Ventilation | Opposite windows + skylights | Boosts air and natural light, reduces daytime lighting |
Plan electrical points early and zone task, ambient, and accent lighting with LED strips and surface lights. Good ventilation and smart lighting lift interiors with minimal cost.
Pick the Right Plot Size and Layout: Low-Budget Ideas That Fit Your Area
Choosing the right plot and footprint makes all other savings easier to achieve. We compare common plot size bands and match each to practical plans that keep costs and circulation tidy.
Compact 20×25 to 20×40 plans
For a 20×25 or 20×40 plot, combine living-dining with a modular kitchen and a shared bath to save space. A compact plan of 500–800 sq ft usually places bedrooms opposite each other to keep privacy.
Linear 20×45 and 20×50 options
Longer plots let us run a straight layout: living, dining, kitchen, then bedrooms. This layout allows a pantry/utility, a small pooja niche near the entrance, and covered parking up front.
Narrow 16×40 and 18×40 strategies
Narrow areas work best with a linear flow and utility balcony. Place noisy rooms toward the front and bedrooms at the rear to protect privacy and reduce street noise.
- 25×30 and 25×45 plans fit a breakfast counter, powder room, and smarter parking without losing living area.
- At 600 sq ft expect a shared bath and compact kitchen; 800–1000 sq ft allows a balcony and parking; 1200 sq ft adds pooja and walk-ins.
- Keep the footprint rectangular to cut wall lengths and structural cost; align stairs and wet cores on one side for efficient plumbing.
Before finalizing a plan, verify setbacks and FAR rules for your plot and filter downloadable PDFs by facing, plot dimensions, and parking to fast-track selection.
Vastu-Led Planning on a Budget: East, West, North, and South-Facing 2BHKs
Orienting rooms by Vastu helps us gain better light, airflow, and harmony in a tight layout. Early orientation choices lock in good circulation and cut costly changes later.
East-facing layouts
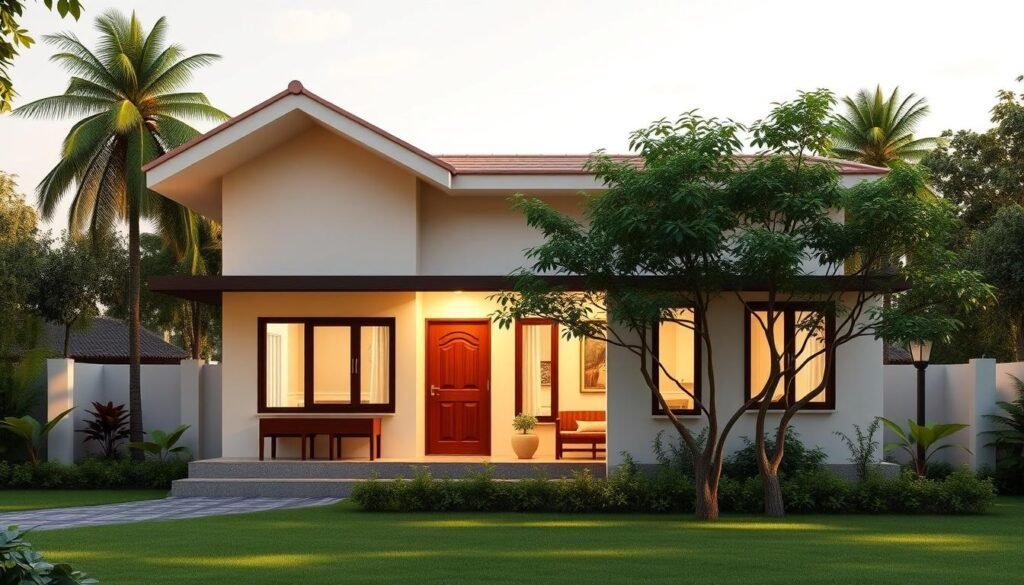
For an east facing plan, place the pooja in the northeast corner to capture morning light. Keep the main entrance slightly right of centre for smooth energy flow.
Put the kitchen in the southeast and the master bedroom in the southwest. Place bathrooms away from the northeast and align them on shared walls to save plumbing costs.
West-facing adjustments
West-facing homes need shading and smart glazing to limit afternoon heat. Keep the pooja in the northeast and kitchen in the southeast.
Arrange bathrooms so they do not sit in the northeast; balance openings to protect privacy and light.
North-facing and south-facing tips
North facing entries are auspicious; use a central living area and keep the master bedroom to the southwest. Place the kitchen in the southeast and stack bathrooms vertically in duplex plans.
For south-facing plans, add deep overhangs, trees, and ventilated corridors to cool interiors. Maintain the kitchen southeast and pooja northeast for Vastu harmony.
- Put the pooja niche adjacent to the living in the NE corner where possible.
- Ensure toilet doors don’t face common areas and orient beds per Vastu recommendations.
- Validate room positions with a 3D plan and a sun-path study before finalising the house plan.
Choose the Right Layout Type: Open-Concept, Village Style, Ground-Floor 3D, or Duplex
A smart plan makes small areas feel generous by prioritizing flow and function. We pick a layout based on site, family routines, and long-term use of the home.
Modern open-concept
Open-concept layouts merge living, dining, and kitchen to boost visual space. A breakfast counter adds casual seating and storage without extra footprint.
Place the utility near the kitchen and align windows for cross-ventilation. This keeps circulation linear and reduces wasted corridors.
Village-style comfort
Village-style plans use a verandah, courtyard, and a small pooja room to anchor family life. Courtyards bring daylight to interior rooms and act as passive cooling cores.
Verandahs and shaded porches create social space and protect entries from sun and rain—useful in many Indian climates.
Ground-floor 3D planning
Rendering the ground floor in 3D helps us check accessibility, furniture fitting, and outdoor access. Covered parking and a garden can be integrated without breaking the plan.
3D views validate headroom, stair placement, and how rooms connect to the outside before construction begins.
Budget duplex options
In a duplex, social spaces sit on the ground floor and bedrooms go upstairs. We focus the staircase as a compact, well-lit design feature to save area.
Stack wet areas vertically where possible and balance window placement for daylight and privacy on each floor.
- Use linear circulation to cut corridor waste and keep rooms directly connected.
- Place breakfast counters and utility balconies to increase function without added cost.
- Render key views in 3D to confirm furniture layout and stair clearances before finalising the plan.
Cost Planning for India Today: What Your 2BHK Can Include at Each Budget
We map realistic cost bands so you can match size, finishes, and priorities to a workable plan. Clear numbers help us decide where to invest in the envelope and where to economize on fittings.
500–600 sq ft: ₹9–₹13 lakhs
This area fits essential rooms with efficient storage and simple finishes. Expect standard tiles, local labour, a compact kitchen, and two modest bedrooms. Shared plumbing and a rectangular layout keep the cost down.
800–1000 sq ft: ₹15–₹22 lakhs
With this size we add better finishes, stronger foundations, and a small balcony or garden. Car parking is possible. Allocate funds for selective upgrades in the kitchen and bathrooms.
1200 sq ft: ₹20–₹30 lakhs
Larger area allows a pooja, utility, walk-ins, and planned future expansion. Invest in roofing, waterproofing, and windows to lower long-term maintenance costs.
- Money-savers: stack wet areas, keep a rectangular footprint, and source local materials.
- Protect the plan with a detailed BOQ and 3D quantity checks to avoid overruns.
- Keep a contingency for approvals, soil tests, and site work; plan columns and the stair core for easy vertical growth.
Room-by-Room How-To: Design Priorities for Living, Kitchen, Bedrooms, and Baths
We guide you through room-level choices that make each square foot work harder for daily life. This helps a compact plan feel airy, practical, and future-ready.
Living and dining
Scale sofas and a dining table to the room so walkways stay clear. Match floor finishes and ceiling lines to extend visual flow across the living room and dining area.
Place lighting zones for task and ambient use. Keep storage built into walls or media units to reduce loose furniture and keep the space flexible.
Kitchen
We prefer a southeast kitchen when site rules allow, with a compact work triangle for fridge, sink, and cooktop. Use modular modules and standard cabinet depths for cost-efficient storage and maintenance.
Add a small utility balcony for washing and extra storage to keep the main kitchen area uncluttered.
Bedrooms
Zone bedrooms away from the living to cut noise. Fit built-in wardrobes and headboard storage to free floor area for movement and a small seating nook or balcony access.
Bathrooms
Choose attached bathrooms for master privacy and a common bathroom for guests; add a powder room if space permits. Keep wet walls back-to-back and add windows or exhaust fans for ventilation to save on plumbing and maintenance.
- Plan outlets near furniture groups to avoid visible wires.
- Use pocket doors or short lobbies to boost privacy without wasting circulation.
Visualize Before You Build: 3D Designs and Downloadable 2BHK PDFs
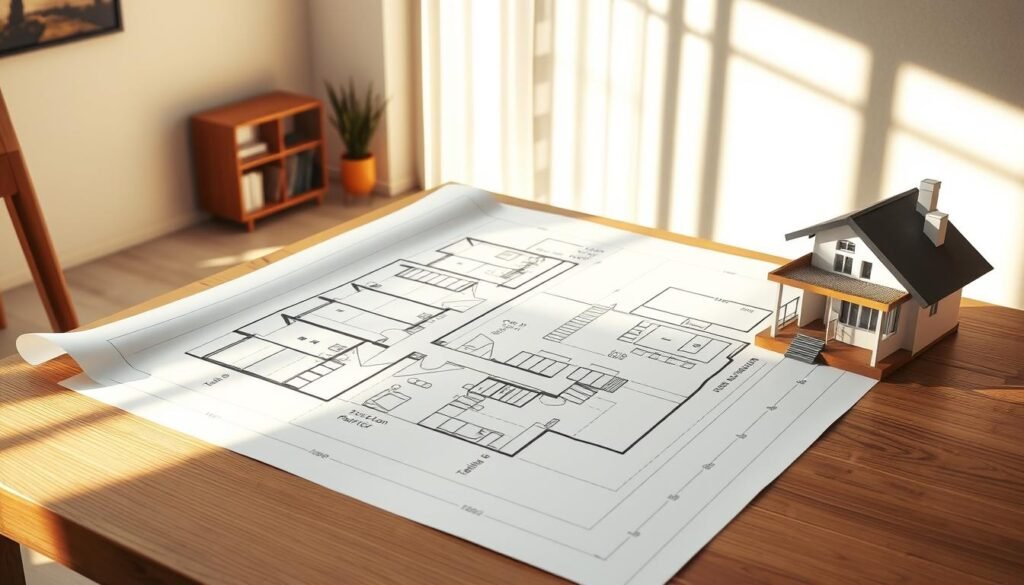
We always visualise a plan in 3D before committing to construction. A clear 3D model shows room sizes, furniture placement, and how light moves through each floor. This helps us spot circulation problems and adjust door swings early.
Ground-floor 3D checks
Use ground-floor 3D views to confirm living and room layouts, test sofa and bed fits, and verify the kitchen triangle. Lighting simulations show where to add windows or skylights for even daylight. We also review bathrooms in 3D to ensure stacked wet walls and efficient plumbing runs.
Downloadable PDFs and filters
Filter downloadable PDFs by facing, plot size, car parking, and Vastu to narrow choices fast. Check dimensions on each plan PDF so bed sizes, sofa widths, and dining tables fit the intended space. Use interior design markups inside the PDFs to note finishes, electrical points, and storage.
| What to check | Why it matters | Action |
|---|---|---|
| Circulation & door swings | Prevents blocked paths and wasted floor area | Validate in 3D and adjust before approvals |
| Lighting & window placement | Reduces daytime lighting and improves comfort | Run daylight simulation in 3D models |
| PDF layers (arch, elec, plumbing) | Speeds contractor handover and approvals | Export layered PDFs and compare variants |
- Shortlist two to three plans and iterate with your architect on site constraints.
- Compare open-plan, village-style, and duplex layouts to match lifestyle and budget.
- Export final PDFs with architectural, electrical, and plumbing layers for clear execution.
Avoid These Common Pitfalls That Inflate Costs or Reduce Comfort
A few missed details in the plan often create daily friction and unexpected expense. We flag the repeat mistakes we see on site so you can fix them on paper, not mid-build.
Inadequate storage planning and wasted circulation
Underestimating storage fills living areas with clutter and forces costly retrofits. We push for built-ins, overhead lofts, and under-stair units to keep floors clear.
Avoid long corridors. Linear layouts with direct room connections save square footage and structural expense.
Poor natural light and ventilation placement
Incorrect window orientation leads to hot, dim interiors. We prioritise opposite openings to enable cross-ventilation and place windows for even daylight and sensible shading.
Kitchen triangle inefficiencies and cluttered utilities
A cramped kitchen workflow slows cooking and raises renovation costs. Keep fridge, sink, and cooktop in a clear triangle and separate wash zones from hot worktops.
Compromised privacy and ill-placed bathrooms
Doors that open into the living or dining steal comfort and dignity. Where possible, add short privacy lobbies and stack bathrooms to align plumbing and cut leakage risks.
Underplanning electrical points and future needs
Missing sockets lead to messy extensions and surface chases. Plan outlets by beds, TV units, and kitchen appliances now to avoid costly rewiring later.
- Right-size rooms to save on structure and keep space functional.
- Use realistic furniture layouts on drawings to validate circulation.
- Provide shading for west/south faces instead of costly glazing changes.
| Problem | Impact | Quick fix |
|---|---|---|
| Poor storage | Cluttered living and lost space | Built-ins, lofts, under-stair |
| Bad ventilation | Heat, dampness, higher energy use | Opposite openings, window placement |
| Few sockets | Messy cabling, extra chases | Plan sockets by appliance and bed |
Conclusion
A clear final plan ties together cost, comfort, and future upgrades so the build stays on track.
We recap that open layouts, smart storage, and selective finishes stretch every rupee. Pick a plot-size-appropriate, rectangular footprint to control structural and plumbing cost. Follow Vastu placements—SE kitchen, SW master, NE pooja—where practical for better light and flow.
At 500–600 sq ft expect ₹9–13 lakhs; 800–1000 sq ft around ₹15–22 lakhs; 1200 sq ft near ₹20–30 lakhs. Phase upgrades and validate plans with 3D views and downloadable PDFs. Align plumbing, electrical, and structure early to avoid surprises.
Finalize two plan options, get costed BOQs, and schedule a site evaluation. With the right plan and discipline, a compact bhk home gives lasting value, comfort, and the sense of larger living space.

